Instant Idli Recipe | Instant Idli Mix
Instant Idli made with homemade Idli Mix using rice flour, urad dal and poha. Soft, fluffy idlis ready in minutes with sambar or chutney.
 RUKAIYA KADIWAL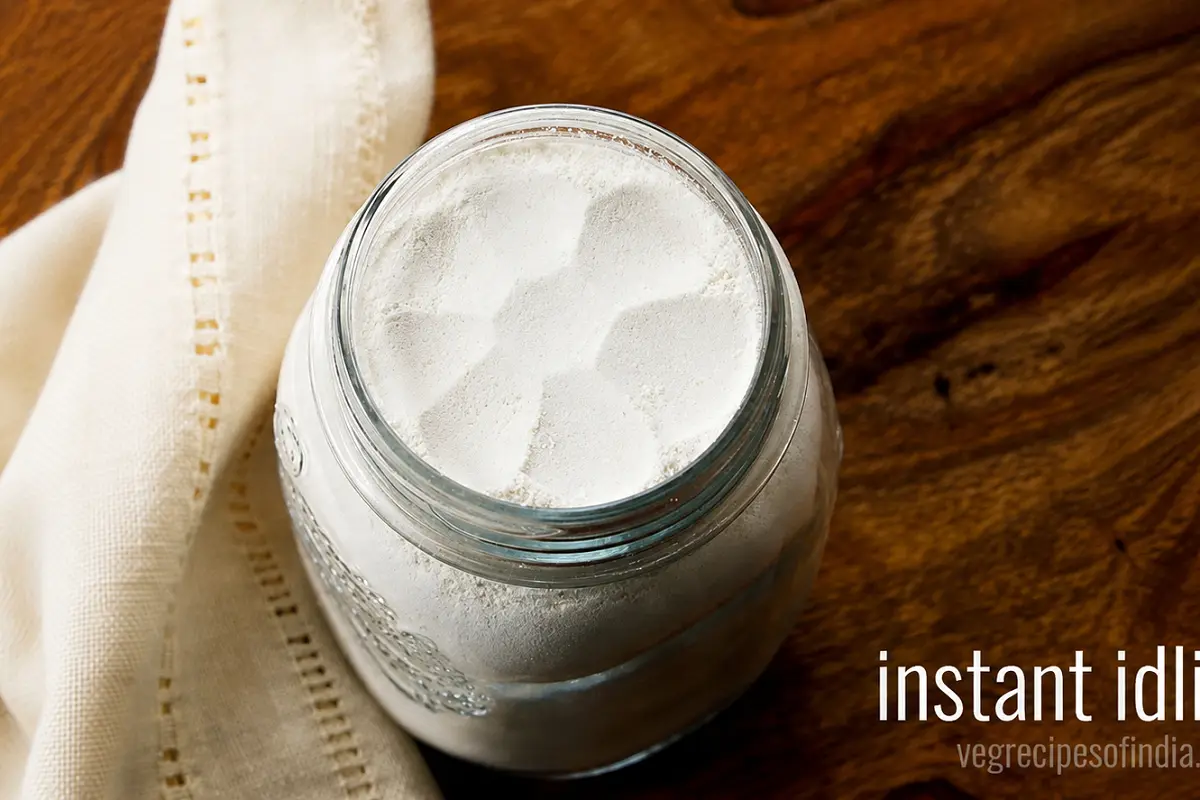
Instant Idli made with homemade Idli Mix that is made with rice flour, urad dal and poha (flattened rice). The idli made with these instant idli mix are soft, fluffy and goes very well with coconut chutney or sambar. Here I share both the recipes and methods of making the Instant Idli Flour Mix and also the making of Instant Idli with this idli flour mix.
About Instant Idli Mix
I had some recipe requests for sharing homemade instant idli mix flour as well as instant dosa mix. Generally, I do not prepare instant idli as I feel fermented idli are way better.
But since I had got the recipe requests, I did prepare the instant idli flour twice. The flaws which were there in the flour first time, were covered when I tried the second time. So now sharing a foolproof method of preparing homemade instant idli mix flour.
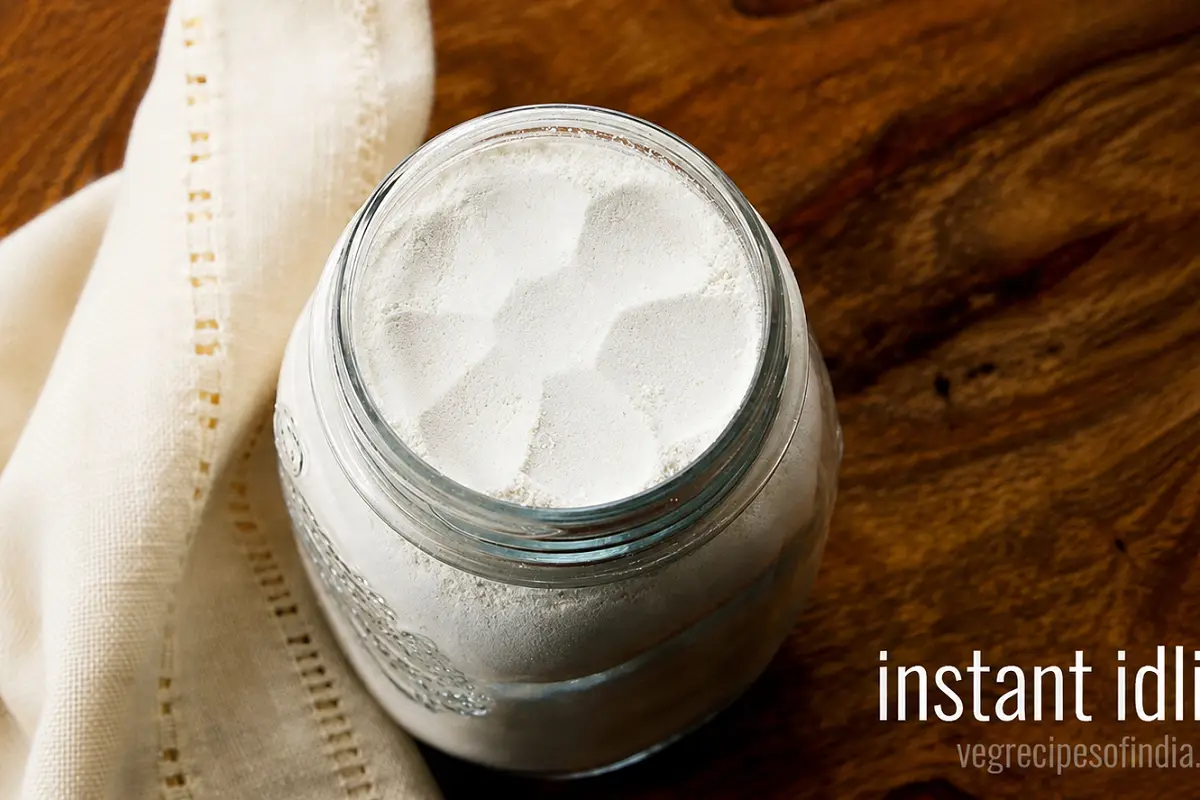
This recipe roughly gives 480 grams of instant idli flour. After preparing you can store in an air-tight jar. You can only make idlis with this mixed flour.
The dosa made from this idli mix flour was soft but not very crisp and at times were sticking to the pan. I have developed a separate recipe for Instant Dosa Mix Flour.
For making the traditional, fermented idli and dosa recipes, I have already shared detailed methods to make the batters with plenty of troubleshooting tips.
The texture of these instant idlis is like the fermented ones. But the taste is not like the fermented idlis. Though idli made from an instant idli mix flour are a savior on busy days.
Do use sour Curd (or sour yogurt) for preparing the idlis. With sour curd, there is a hint of sourness in the idlis. You can also use Buttermilk.
As mentioned above, I am sharing the instant idli mix flour recipe as well making Instant Idli. Below you can see the soft and fluffy texture of the Instant Idli made with the homemade idli flour mix.
Storage
Store in a cool and dry place in your kitchen. You can opt to refrigerate or freeze the flour also.
When removing the idli flour, always use a clean dry spoon or a clean dry cup. If water or moisture seeps into the flour, it will get spoiled.
About Instant Idli Recipe
This instant idli recipe is a follow up on the homemade instant idli mix flour recipe that I have shared above. Since this a quick version, the idli has to be leavened by using a leavening agent and a sour ingredient.
For the leavening batter two ingredients are used:
An acidic ingredient – sour curd is the acidic ingredient which is used in the recipe and it works best.
A leavening agent – fruit salt (eno) is the leavening agent used. I would not suggest to use baking soda, as then you get soapy aroma in the idlis.
The recipe works very well and within 15 minutes you will have steaming hot idlis and that too instant. All you need is this homemade instant idli flour.
So you can prepare the idli flour and keep it stored at room temperature. The idli flour mix stays good for months.
The instant recipe makes use of 1 cup of this homemade instant idli mix flour only. 1 cup of flour yields 9 to 10 idli. But if you want you can even use 2 cups of idli mix flour.
The recipe yields really good soft and fluffy idlis. For an instant idli recipe, the texture of these idlis is too good.
The taste is not typically sour like the regular fermented idli, but these idlis are a better option for an instant recipe.
For more such recipes, you can check the official collection here: https://www.vegrecipesofindia.com/recipes/indian-breakfast-recipes/
You may also like this related recipe: https://hospitalitycareerprofile.com/food-recipes/indian-breakfast/tomato-omelette-recipe
- Since we are only using eno or fruit salt as the leavening agent, its best to check whether its fresh and active. If the eno is not fresh or active or past its shelf life, then the idlis will become dense.
- Avoid using baking soda as it gives a soapy aroma in the idlis.
- To check freshness, add about ¼ teaspoon fruit salt in 1 to 2 tablespoons of water and it should fizz and bubble. If it does not then the fruit salt is not active.
- The ratio of sour curd and water can always be played around with. For a more sour taste, you can even add ½ cup of sour curd and reduce the water accordingly.
- Also do note that these idlis cook faster than the ground & fermented idlis. So do keep a check while they are steaming.
- Make sure all your ingredients for the idli flour are fresh and within their shelf-life.
- Both the recipes for the Idli Mix Flour and the Instant Idli can be scaled according to your needs.
- Note that the approximate nutrition info is for the entire amount of homemade idli mix flour made from this recipe.
Suggestion
- Since we are only using fruit salt (eno) as the leavening agent, its best to check whether its fresh and active. If the eno is not fresh or active or past its shelf life, then the idlis will become dense. To check the freshness, just add about ¼ teaspoon fruit salt in 1 to 2 tablespoons of water and it should fizz and bubble. If it does not then the fruit salt is not active.
- The ratio of sour curd and water can always be played around with. For a more sour taste, you can even add ½ cup of sour curd and reduce the water accordingly.
- Also do note that these idlis cook faster than the idlis made with ground & fermented batter. So do keep a check while they are steaming.
- Serve these soft, light and fluffy instant idlis with any coconut chutney or sambar. You can even make mini idlis from this idli mix. I served idlis with beetroot chutney.
Ingredients
- ▢300 grams Rice Flour or 2 cups rice flour
- ▢125 grams urad dal or ½ cup urad dal (husked whole black gram)
- ▢45 grams thick poha or ½ cup thick poha (flattened rice)
- ▢½ teaspoon salt or add as per taste
- ▢1 cup idli mix flour – made from the above recipe
- ▢¼ cup curd – sour tasting or sour yogurt
- ▢½ teaspoon eno or fruit salt
Nutritional Information
- Calories: 1537kcal
- Carbohydrates: 316g
- Protein: 49g
- Fat: 5g
- Saturated Fat: 1g
- Polyunsaturated Fat: 1g
- Monounsaturated Fat: 1g
- Sodium: 1170mg
- Potassium: 240mg
- Fiber: 32g
- Sugar: 0.4g
- Vitamin A: 6IU
- Vitamin B1 (Thiamine): 0.5mg
- Vitamin B2 (Riboflavin): 0.1mg
- Vitamin B3 (Niacin): 8mg
- Vitamin E: 0.3mg
- Calcium: 106mg
- Vitamin B9 (Folate): 39µg
- Iron: 11mg
- Magnesium: 109mg
- Phosphorus: 309mg
- Zinc: 3mg
Directions
How To Make Instant Idli Recipe Stepwise
Step 1: Gathering Ingredients for Instant Idli Mix Flour
Take all the three main ingredients before you proceed – 2 cups rice flour, ½ cup urad dal (hulled and whole black gram) and ½ cup thick poha.
Step 2: Adding Urad Dal
Heat a pan on a low to medium flame. Then lower the heat, add the urad dal. I have used organic unpolished urad dal.
If using regular urad dal from the market, then rinse it a couple of times. The spread the lentils on a plate or tray and let them dry naturally or in the sun.
If keeping in the sun for a few hours, then you don't need to roast urad dal.
Step 3: Roasting Urad Dal
Roast urad dal on a low heat for about 2 minutes, stirring often. Urad dal is roasted just to get rid of some moisture from them.
Step 4: Adding Poha
Then add the poha.
Step 5: Roasting the Mixture
Mix very well and roast for a minute on low heat. Switch off the heat and immediately remove the pan from the stovetop and let this mixture cool down.
You can also cool this mixture on a separate plate.
Step 6: Adding to Grinder Jar
Then add everything in a grinder jar.
Step 7: Grinding to Powder
Grind to a fine powder.
Step 8: Sifting the Flour
Keep a large plate or tray or pan and place a sieve on it. Take the ground flour in the fine sieve and sift it.
Step 9: Handling Urad Dal Grits
Some urad dal grits will be there. You can add them to your dals or discard.
Step 10: Sifted Flour
The below picture is of the sifted urad dal and poha flour.
Step 11: Adding Rice Flour and Salt
Add 2 cups of rice flour and ½ teaspoon salt. I have used fine rice flour. You can also use slightly coarse rice flour.
Even puttu flour can be used. Both white as well as red rice flour can be used.
Step 12: Mixing Well
Mix very well.
Step 13: Idli Mix Flour Ready
The idli mix flour is ready to be bottled.
Step 14: Storing the Flour
With a dry and clean spoon, add the idli mix flour in a jar. Seal tightly with a lid. Use the homemade idli mix flour to make soft and fluffy idli when required.
Step 15: Greasing Idli Plates
Before proceeding, grease the idli plates very well with a neutral flavored oil (or ghee).
Also heat 2 to 2.5 cups water in a pot, idli steamer, a 5 litre pressure cooker or an electric cooker.
Step 16: Taking Idli Mix Flour
In a mixing bowl or pan take 1 cup of the homemade idli mix flour made from the recipe shared above.
Step 17: Adding Sour Curd
Add ¼ cup of sour curd or sour tasting yogurt.
Step 18: Adding Water
Add water in parts at a time. So first you can add about ⅓ to ½ cup water.
Step 19: Whisking the Batter
Then begin to mix with a wired whisk. A wired whisk works best as it helps to dissolve the lumps in the batter.
Step 20: Adding More Water
Add more water and continue to mix. Overall you can add a total of about ⅔ to ¾ cup of water.
Step 21: Mixing the Batter Well
Mix very well. You can briskly whisk this mixture for a minute to aerate it a bit.
Step 22: Checking Batter Consistency
You need to get a batter which is thick yet flowing, almost like an idli batter.
The water proportion is very important. If the water is less, the idli can end up having a dense or rough texture. If its too much and in this case the batter will become thin, the idlis will fall flat and become too soft.
Step 23: Taking Eno
Now take ½ teaspoon eno or fruit salt.
Step 24: Sprinkling Eno
Sprinkle the fruit salt all over the batter.
Step 25: Mixing Eno Quickly
As soon as you add eno, mix very well and be quick.
Do mix the eno very well with the batter. Otherwise you will have a faint green color on the idlis as well as uneven texture in them.
Step 26: Pouring Batter in Moulds
Now pour the batter in the greased idli moulds.
Step 27: Placing Idli Stand
Place the idli stand in the pressure cooker or idli steamer or an electric cooker. When you place the idli stand in the steamer, the water will be hot. So place it carefully.
Step 28: Steaming the Idlis
Cover pan or idli steamer with its lid. Steam on medium to medium-high heat for 10 to 12 minutes or till the idli are done and a tooth pick or fork inserted in them, comes out clean.
If you have used a stovetop 5 litre pressure cooker, remove the vent weight/whistle from the lid. Place the idli stand carefully in the cooker as the water will be hot. Then seal the lid (without the vent weight/whistle) tightly on to the cooker and steam the idlis on medium to medium-high heat for 10 to 12 minutes.
These instant idlis cook faster. So do keep a check. Do not overcook as then they will become hard.
Step 29: Removing the Idli Stand
Once done, carefully remove the stand contained the steamed idlis. Let the idli to sit for a few minutes at room temperature.
Step 30: Removing Idlis from Mould
Then with a butter knife or a spoon gently remove the idlis from the mould.
Step 31: Placing in a Casserole
Place them in a casserole.
Step 32: Serving
Serve Instant Idli hot or warm with your favorite coconut chutney and sambar.
Rate this Recipe
User Reviews
No reviews yet. Be the first to share your thoughts!